
In the Notification center section of your account, you can do the following:
-
Add an email to which messages will be sent so that:
- Mail notifications will be sent to a dedicated email address.
- Each member of your team will receive notifications to a special email address.
-
Configure notifications that will be sent to the specified email address.
-
Remove an email to which messages will be sent.
How to add an email for notifications
1. In your account, go to Notifications (Settings → Notifications).
2. On the right side, click Add a new one.
3. In the New email address field, enter the email to which all messages will be sent.
4. Click Add email.
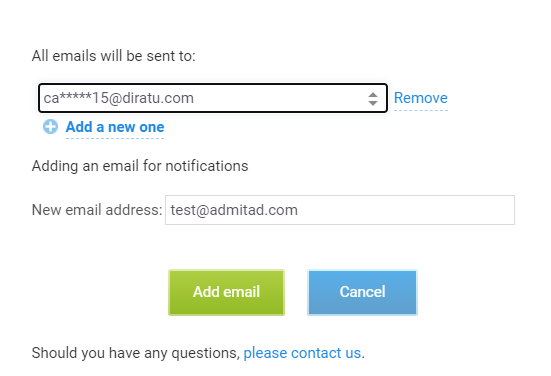
5. A confirmation message will be sent to the specified email.
In the message, click Confirm email.
If you haven't received the message, refresh the page, select the email from the list, and click Request confirmation.
Done! You have added a new email for notifications.
Do the same if you add more email addresses.
After that, you will be able to:
- Configure notifications that will be sent to the specified email address.
-
Remove an email if you no longer want notifications to be sent to it.
How to configure email notifications
You can only configure notifications for an email address that you have confirmed. How to confirm an email
Do the following to configure notifications that will be sent to the specified email address:
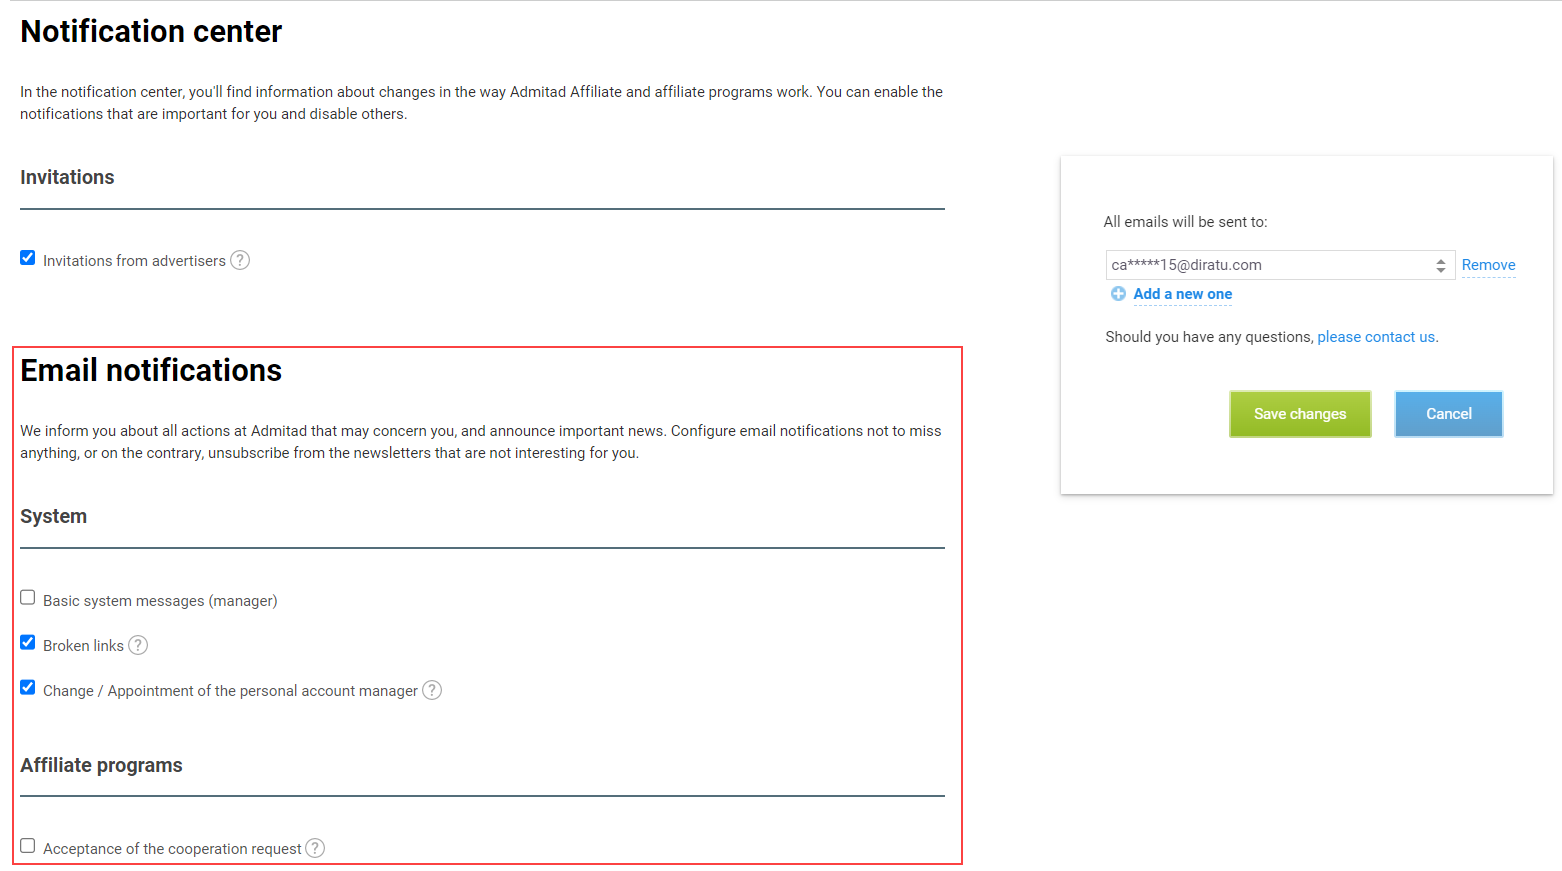
1. Go to Notifications (Settings → Notifications).
2. From the dropdown list on your right, select the email for which you want to configure notifications.
3. On your left, in the Email notifications area, flag the notifications you want to be sent to this email.
To see notification details, click the hint next to the notification name.
4. Click Save changes in the right-hand area.
Done! You have configured notifications that will be sent to the specified email.
How to confirm an email for notifications
You need to confirm an email address to which notifications will be sent.
If you haven't confirmed an email for notifications right after you have added it, you can do that anytime later.
For that:
1. Go to Notifications (Settings → Notifications).
2. In the right-hand area, select an email address from the dropdown list.
3. Click Get confirmation message.
You can only request one confirmation message in an hour.
4. A confirmation message will be sent to the specified email.
In the message, click Confirm email.
Done! You have confirmed the email address.
You can now configure notifications that will be sent to it (see guide).
How to remove an email for notifications
You can't remove your primary email address in Notification center. To stop sending notifications to your primary address, unflag notifications you don't need in the right-hand area and save the changes.
Do the following to remove an email to which notifications are sent:
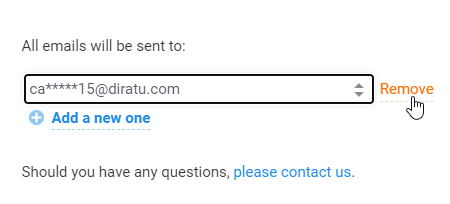
1. Go to Notifications (Settings → Notifications).
2. In the right-hand area, select an email address from the dropdown list.
3. Click Delete.
Done! You have removed the email.
Email notifications will no longer be sent to it.